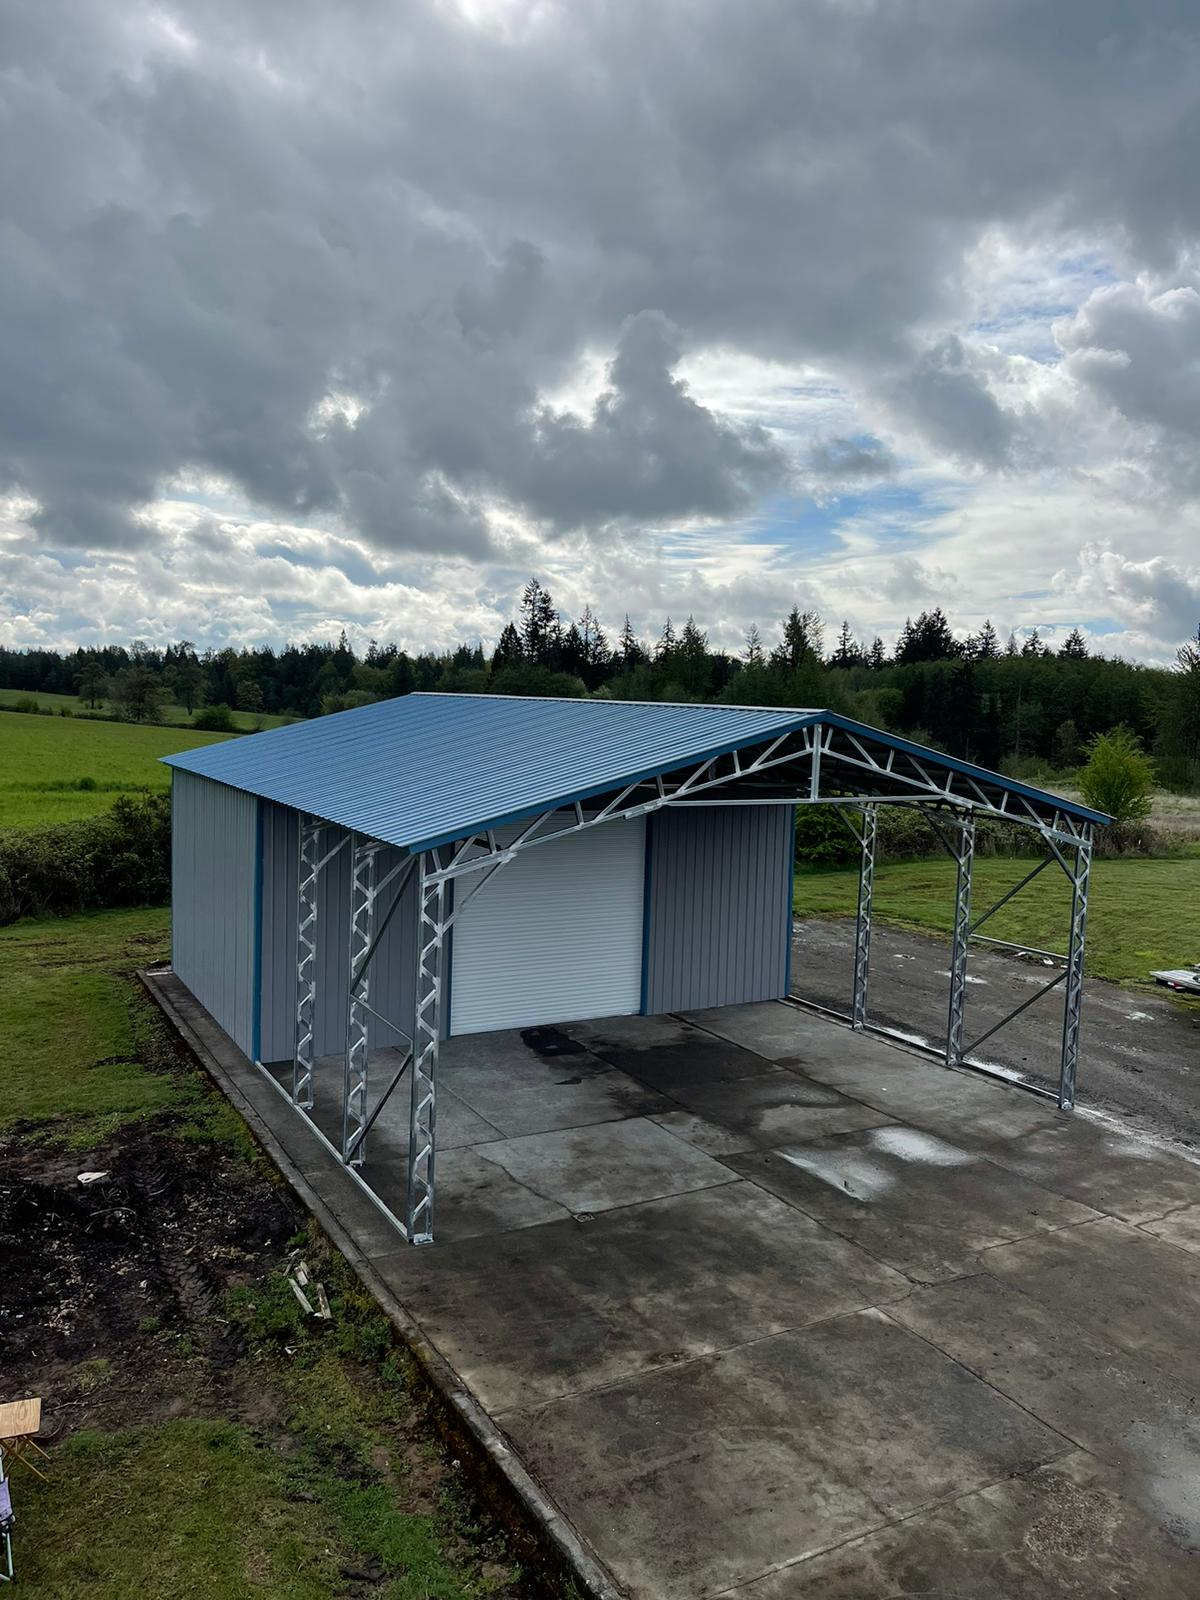
RV Carport Height Guide: Preparing for Summer Travel Season

Summer’s calling, and your RV is ready to hit the open road. But before you pack the cooler and plug in the GPS, there’s one not-so-glamorous thing that deserves your attention: your carport.
Yes, we know, it’s not as fun as planning routes or picking campsites, but trust us, the right carport height could save your RV (and your wallet) from a lot of summer headaches. Whether you’re a weekend warrior with a Class B campervan or a full-time RVer rocking a 40-foot Class A motorhome, protecting your ride when it’s parked is just as important as preparing it for the road.
So, let’s talk clearance, convenience, and confidence. This RV carport height guide is your summer prep checklist for finding that just-right carport height.
Why RV Carport Height Matters (Especially in Summer)
Sure, winter storage is a big deal but what about those hot summer days when your RV is parked and not cruising down the highway? UV rays don’t take a vacation. Over time, they can fade paint, dry out rubber seals, and age your rig faster than you can say “road trip.”
A properly sized carport protects your RV from sun damage and sudden summer storms. But it’s not just about having a roof overhead. If the carport’s too short, you risk hitting AC units, antennas, or solar panels. And let’s be real, nobody wants to stress about scraping the top every time they pull in or out.
The Sweet Spot: 12 Feet and Beyond
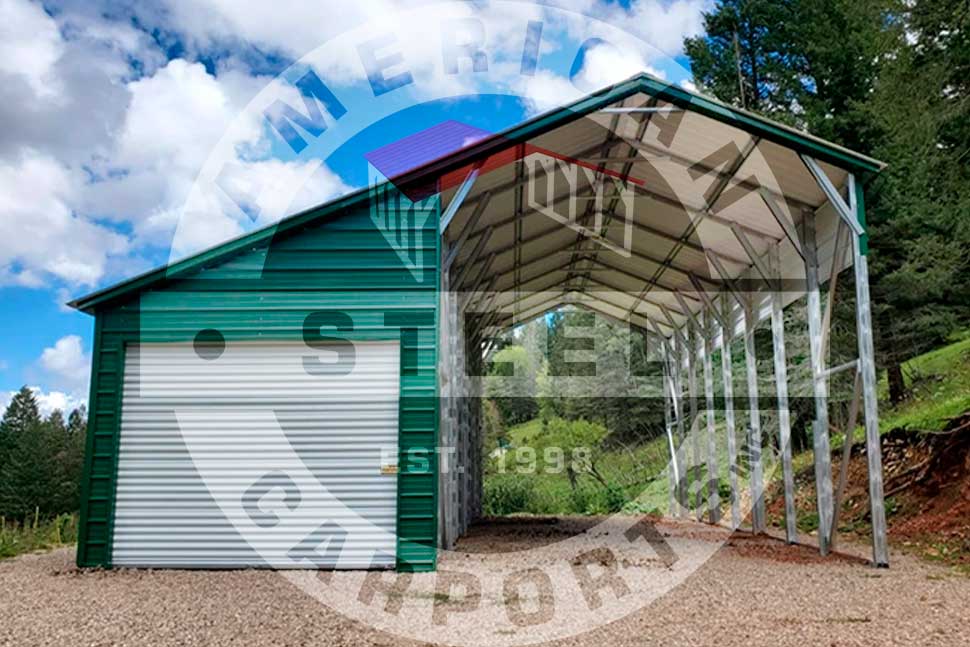
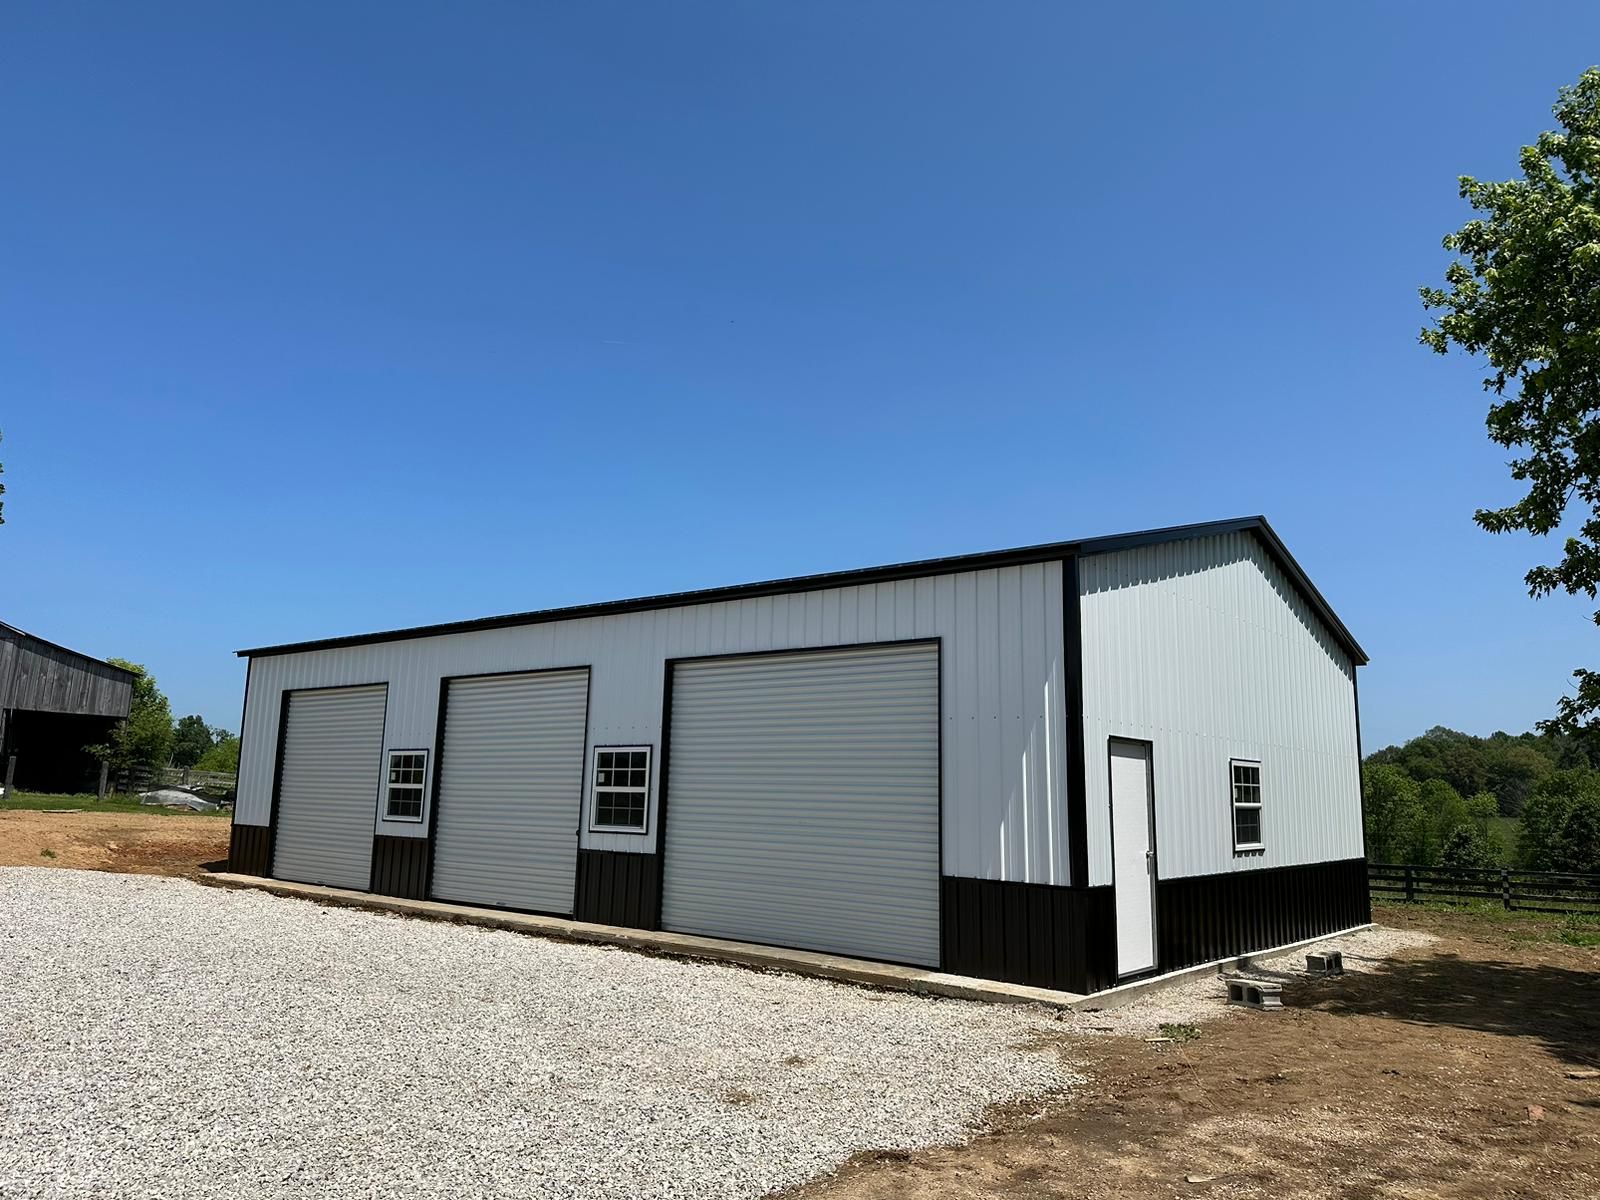
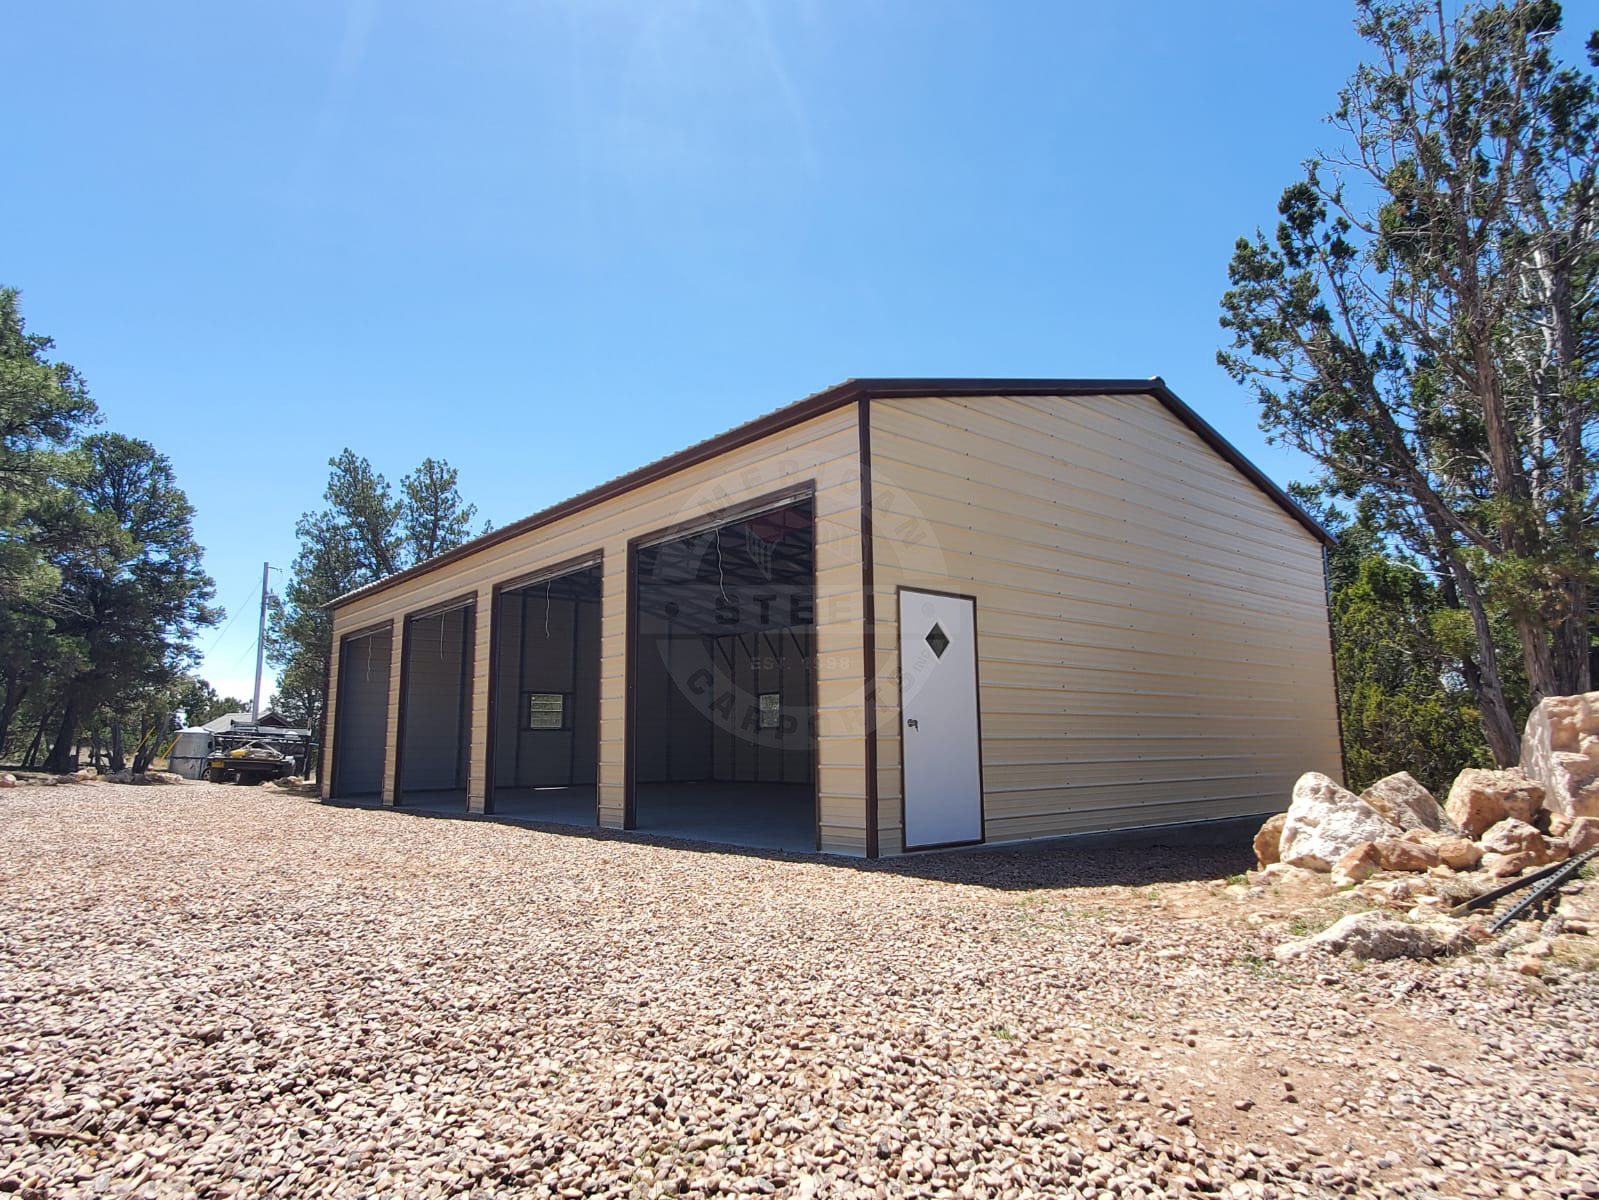
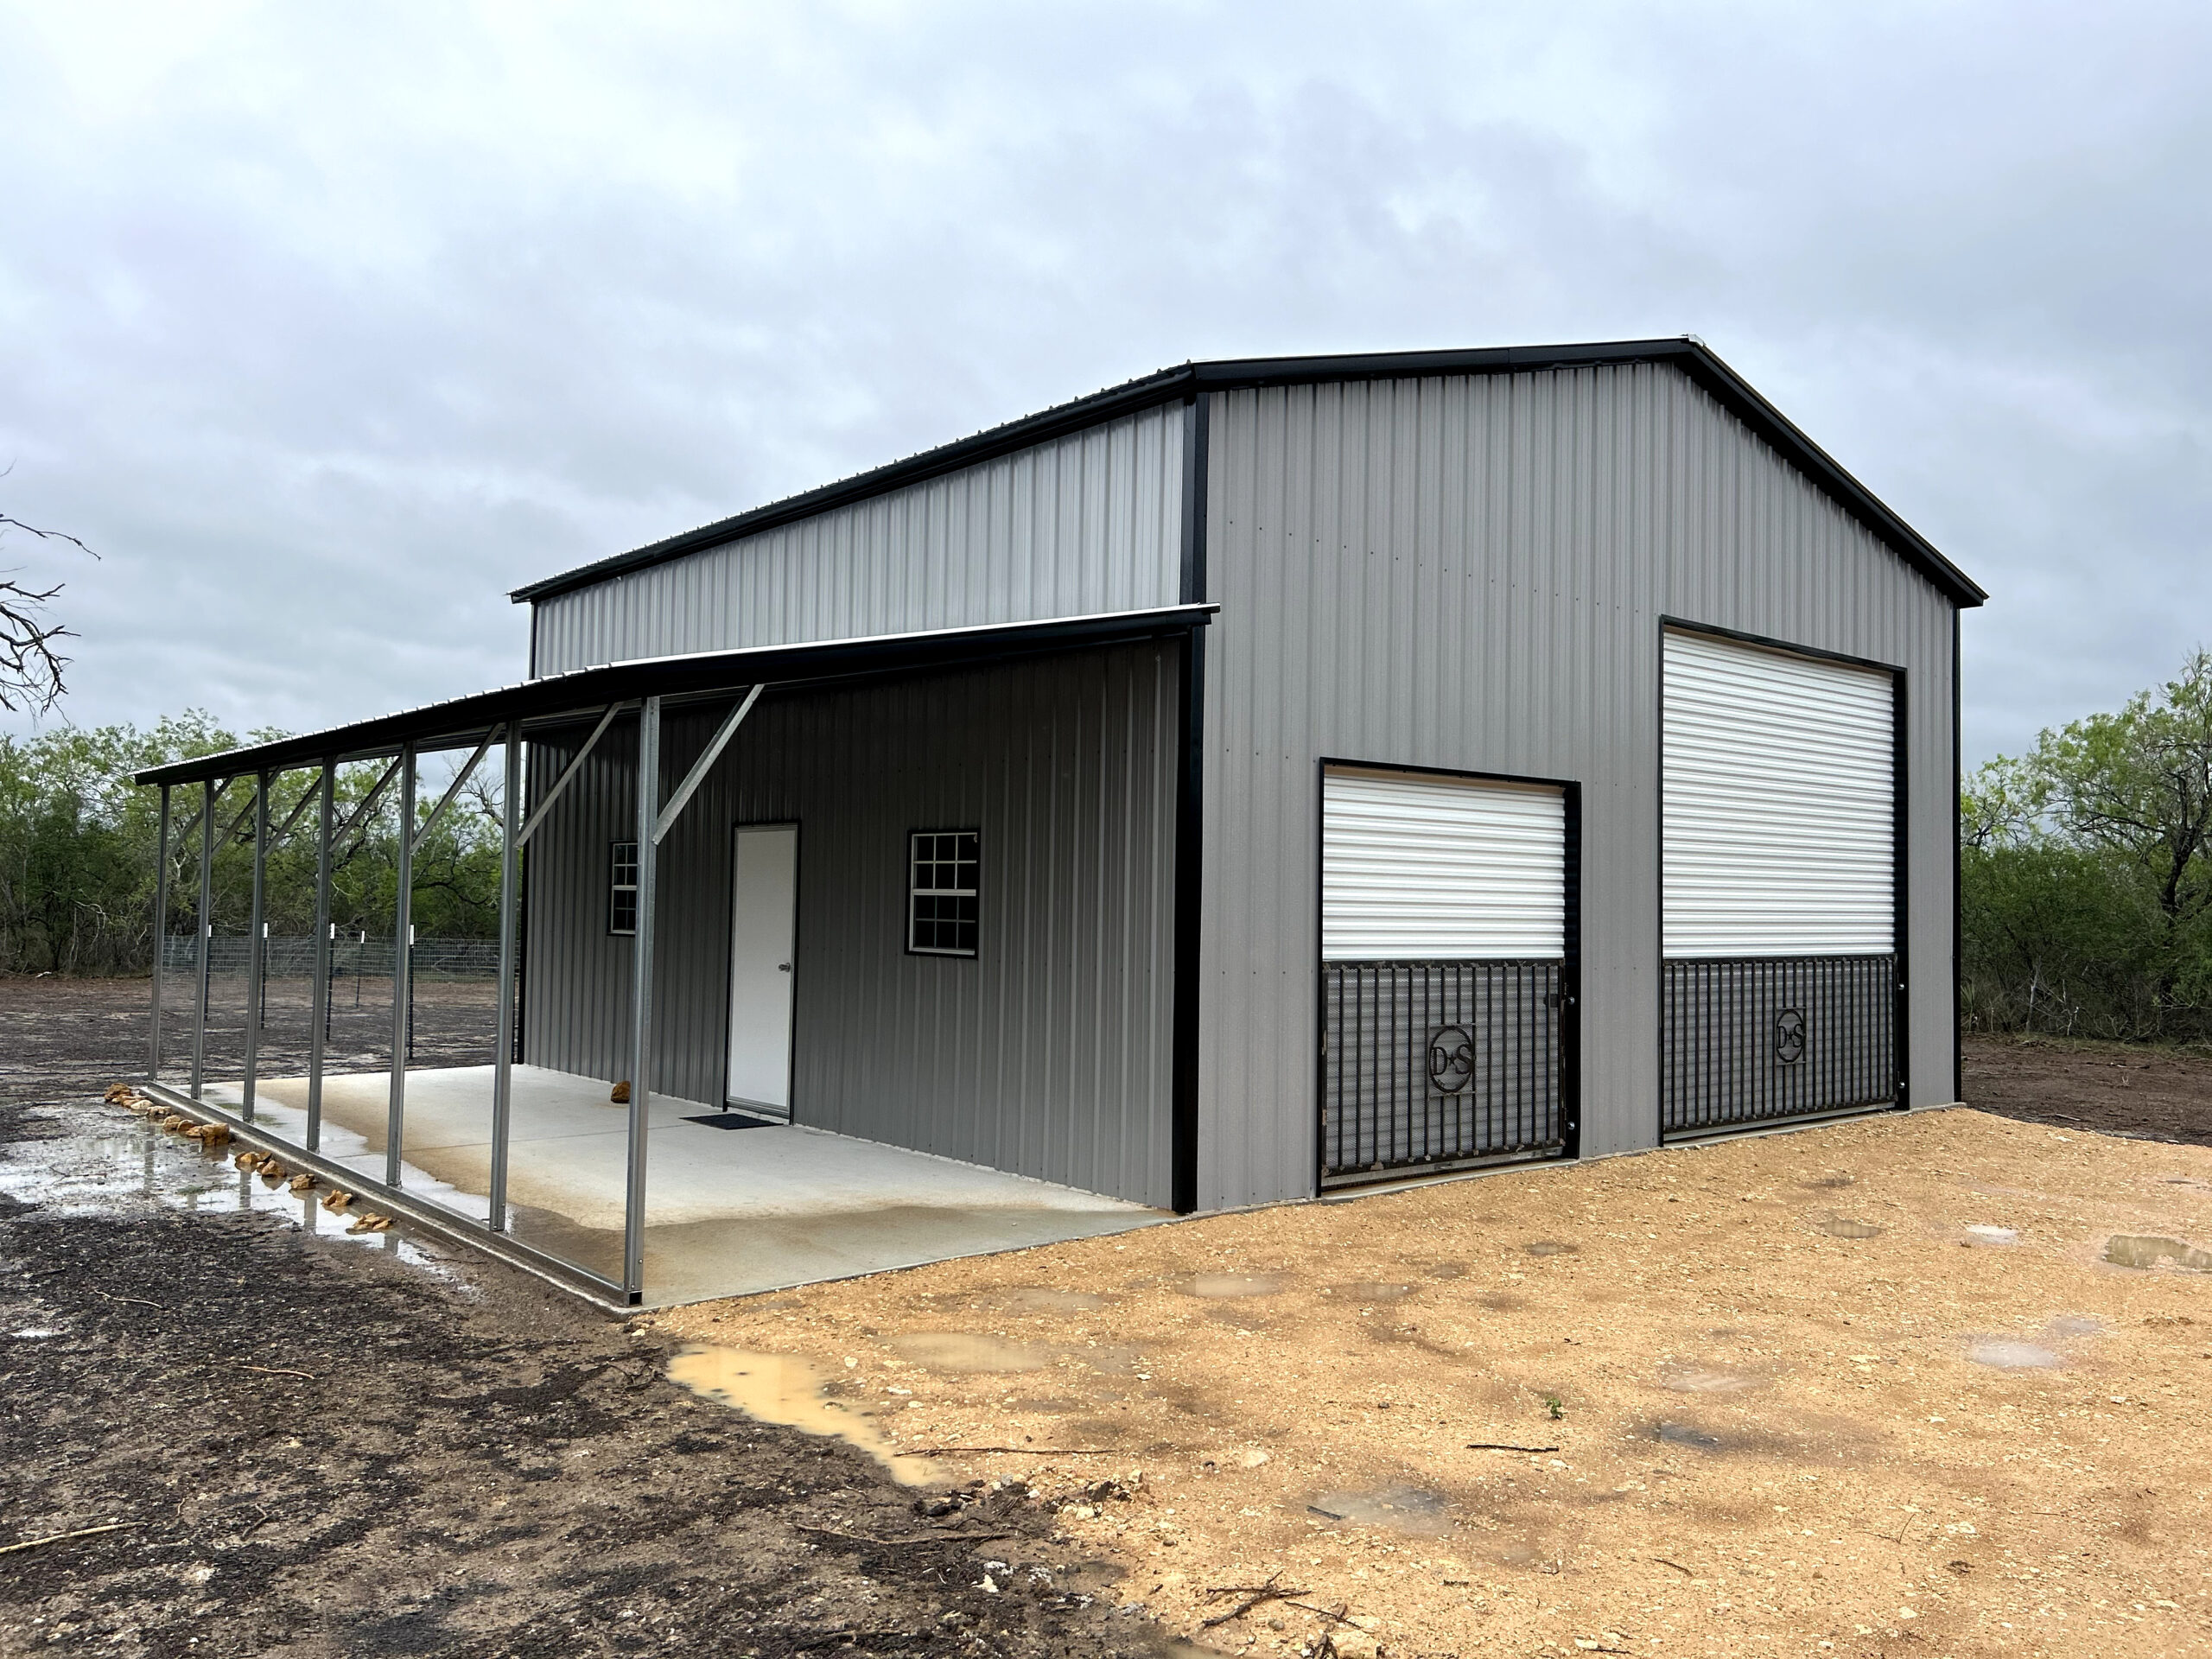
Most RVs will be just fine under a carport with 12-foot side legs. That height gives enough room for standard Class A and C motorhomes and their rooftop accessories, with a little breathing room to spare. But if you’ve upgraded your rig (or plan to), you’ll want to go taller. More on that in a minute.
Understanding RV Heights: Know What You’re Parking
Let’s break down the basics:
- Class A motorhomes: ~10–13 feet tall
- Class B campervans: 7–9 feet tall
- Class C motorhomes: ~10 feet tall
- Fifth wheels & travel trailers: Vary widely, often 10–13 feet, not including add-ons
And here’s the kicker: rooftop gear can easily tack on an extra foot or more. AC units, solar panels, satellite dishes—they’re all part of the vertical equation. So don’t just Google your model’s specs and call it a day. Measure it yourself. Ladder, tape measure, and a buddy—go old school and make sure you get the full picture from ground to highest point.
Oh, and don’t forget: slide-outs affect your width. If you store your RV with them extended (which many owners do), plan accordingly.
How to Measure Like a Pro
Grab your tape measure and start here:
- Height: Ground to the tallest point of your RV with all accessories installed
- Width: Mirror to mirror, or slide-out to slide-out
- Length: From bike rack or bumper up front to spare tire or ladder at the back
Then, add at least 2–3 feet to your height measurement. That’s your comfort and safety buffer. It makes entering, exiting, or maneuvering way less nerve-wracking, especially if you’re parking solo or in low light.
And remember: most carport listings use side leg height, not the center height. Because of the peaked roof design, the center will typically be about 2 feet taller. So, a 12-foot side leg means you’re likely getting 14 feet in the center.
Carport Heights by RV Type
Here’s a quick reference:
| RV Type | Recommended Side Leg Height |
| Class B Van | 10 ft (minimum) |
| Class C Motorhome | 12 ft |
| Class A Motorhome | 12–14 ft |
| Fifth Wheel | 13–14 ft+ |
Got a lot of rooftop add-ons? Go higher. Thinking of upgrading your RV down the road? Go higher. Want room to walk around or wash the roof without crawling? You get it—go higher.
Bottom line: extra height means extra flexibility, and you’ll rarely regret it.
Width and Length: Don’t Cut Corners
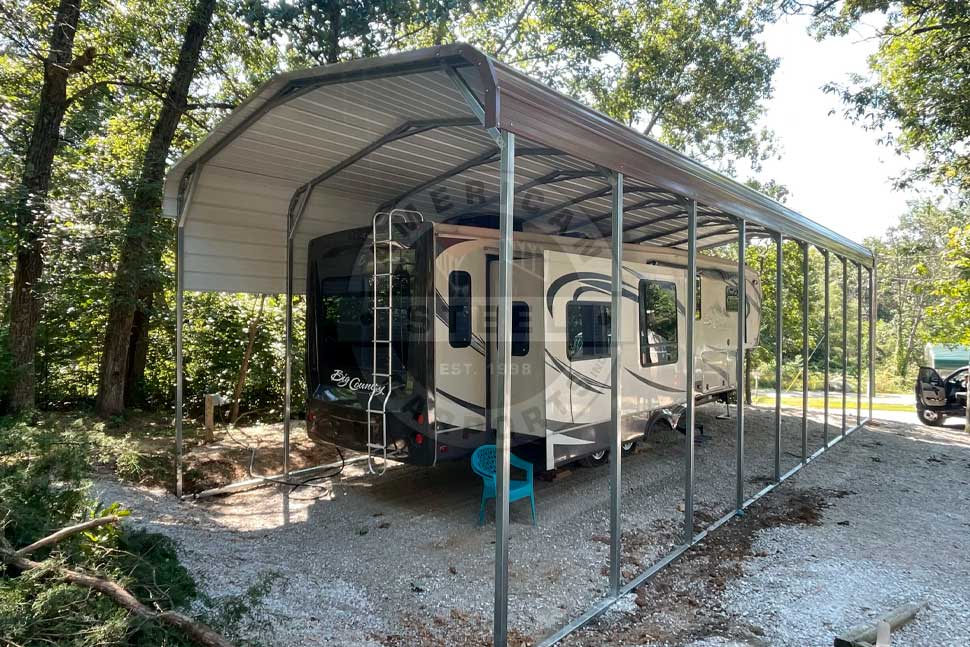
Height gets all the attention, but your carport’s width and length matter too.
- Width: 12 feet is the minimum for most RVs, but if you’ve got slide-outs on both sides, you’ll likely need 18–24 feet.
- Length: Carports start at 21 feet and go up in 5-foot increments. Match or exceed your RV’s total length (bumper to ladder) and toss in a few feet for wiggle room.
Extra space lets you open doors, reach storage compartments, and clean or repair your RV without constantly bumping into metal poles. Plus, it doubles as storage space for bikes, chairs, grills, or that kayak you always swear you’ll use.
Roof Styles That Impact Height
Did you know the roof style affects the usable height inside your carport?
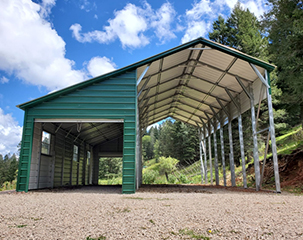
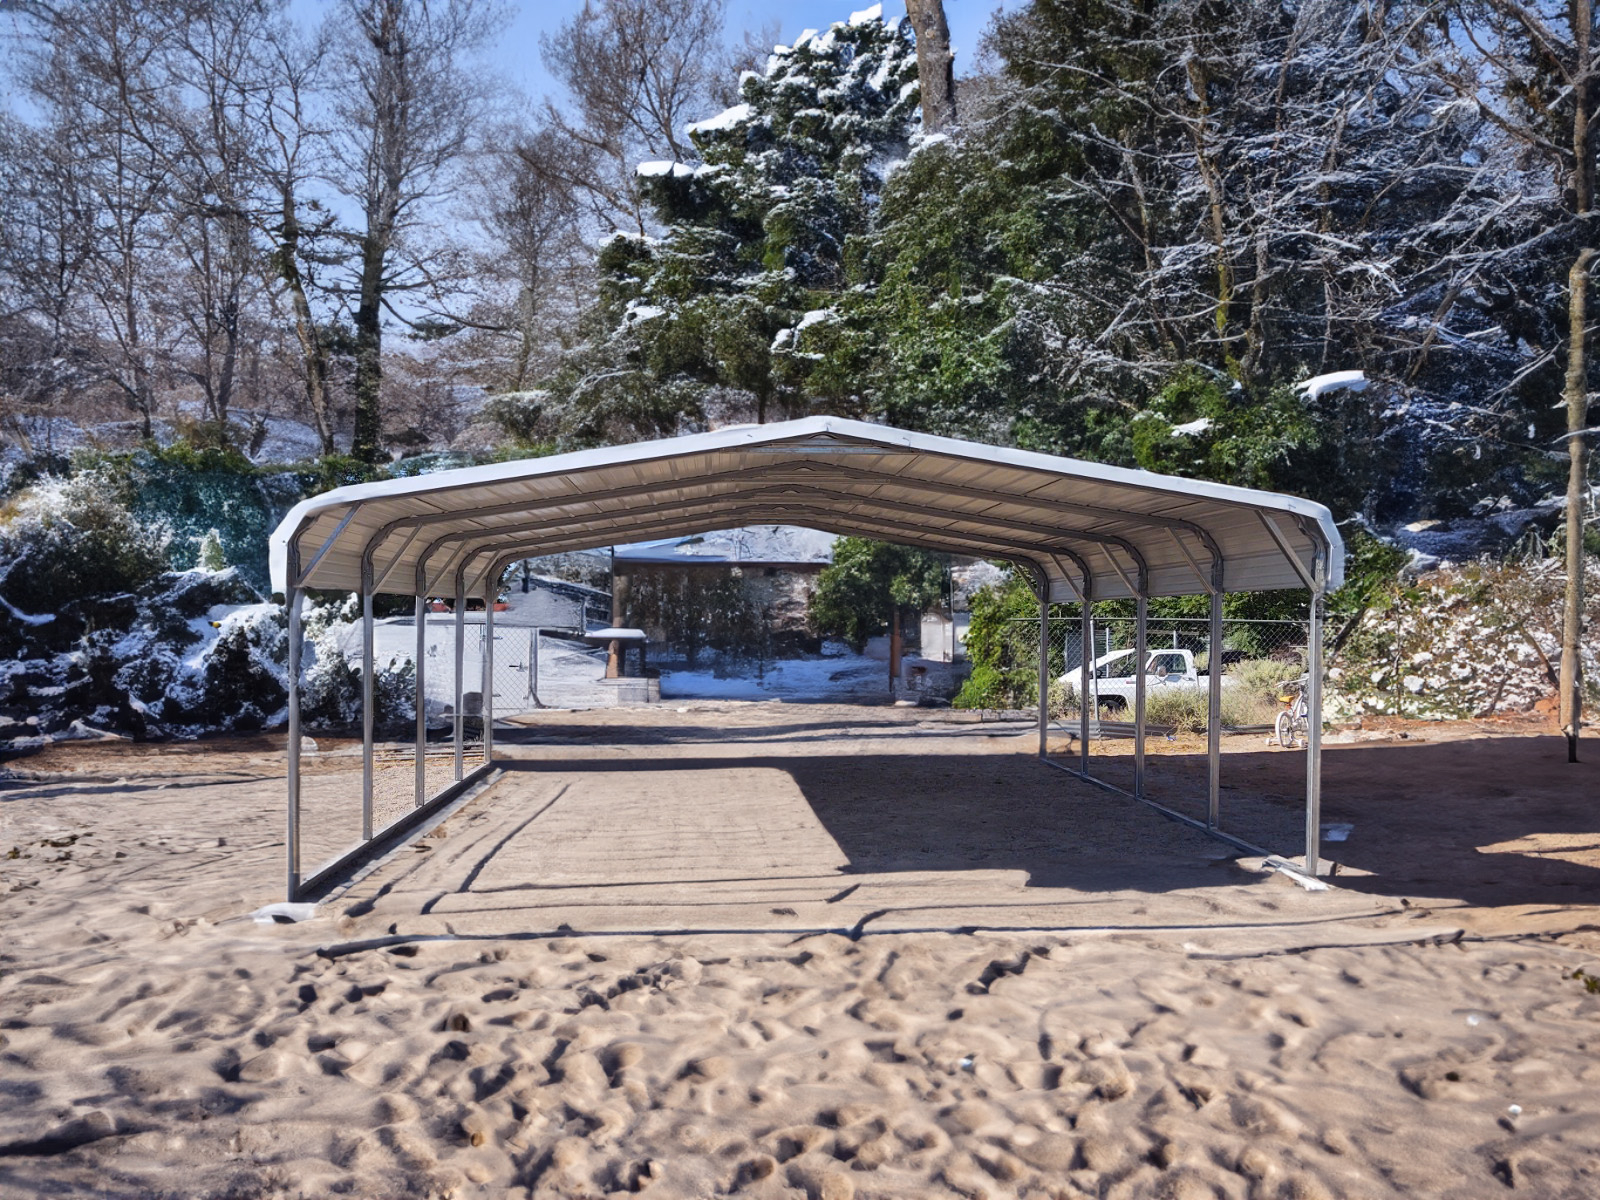
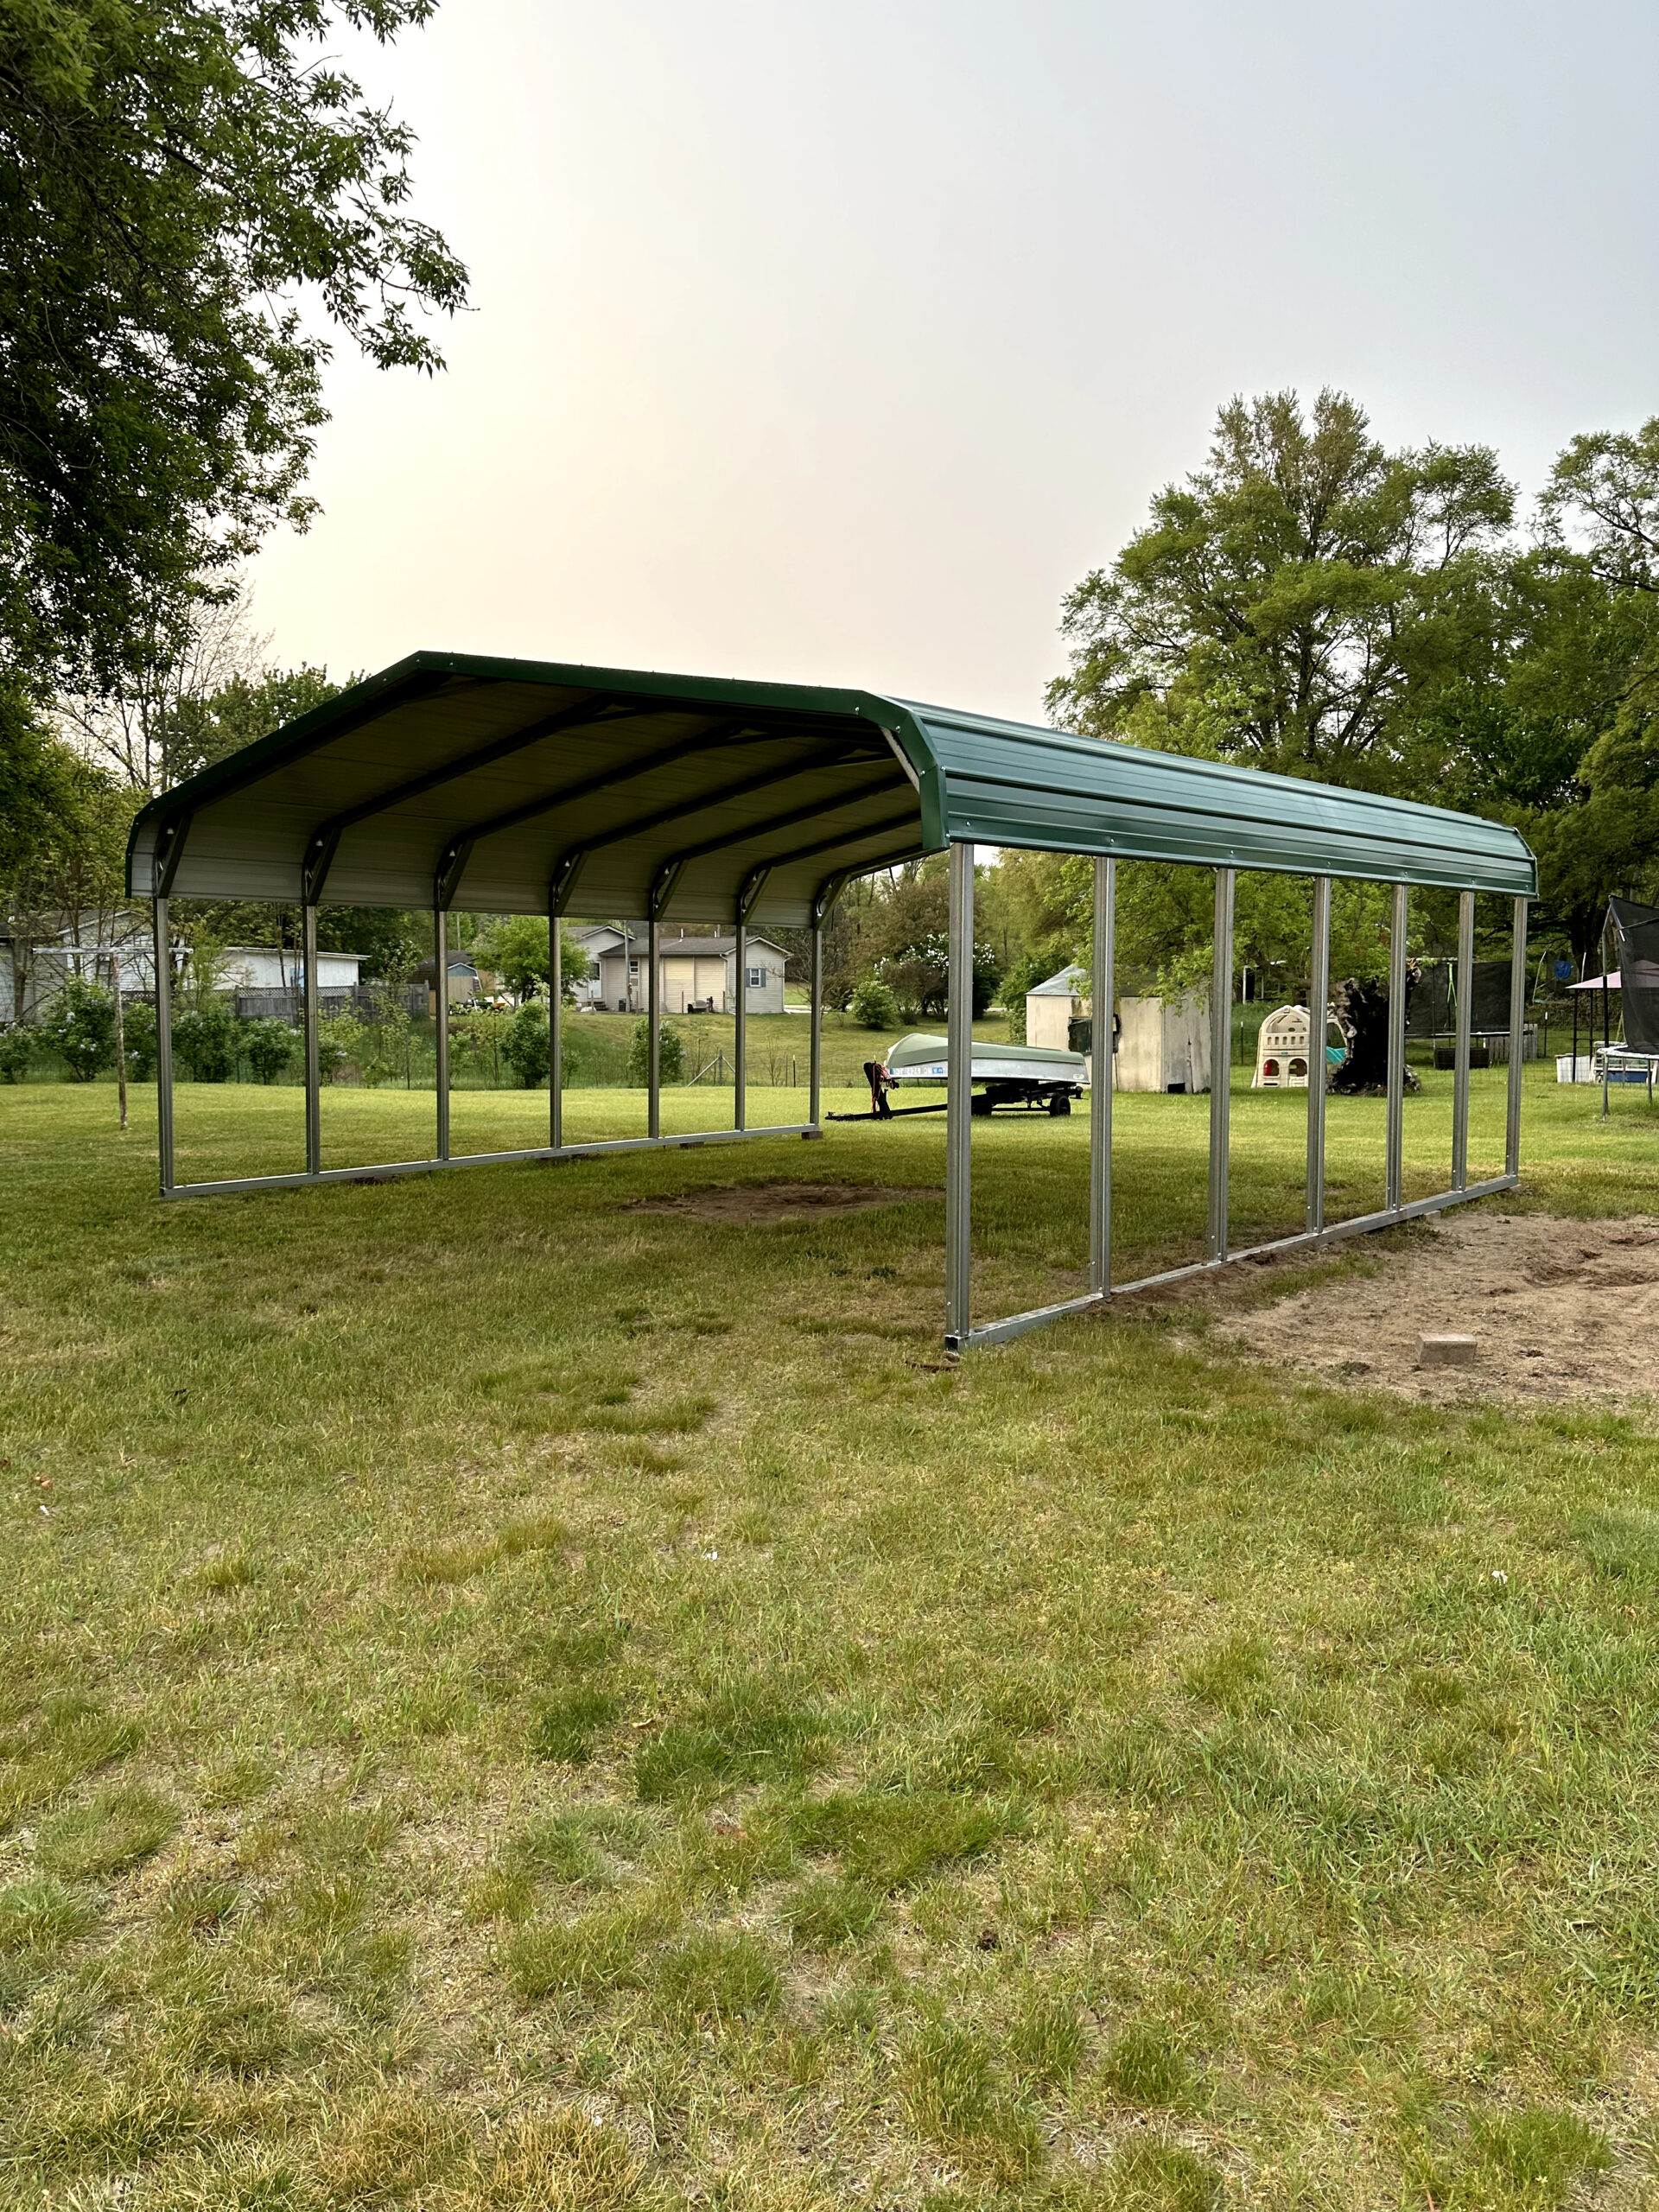
- Regular roof (rounded): Cheapest, but slightly less interior clearance and more prone to pooling water.
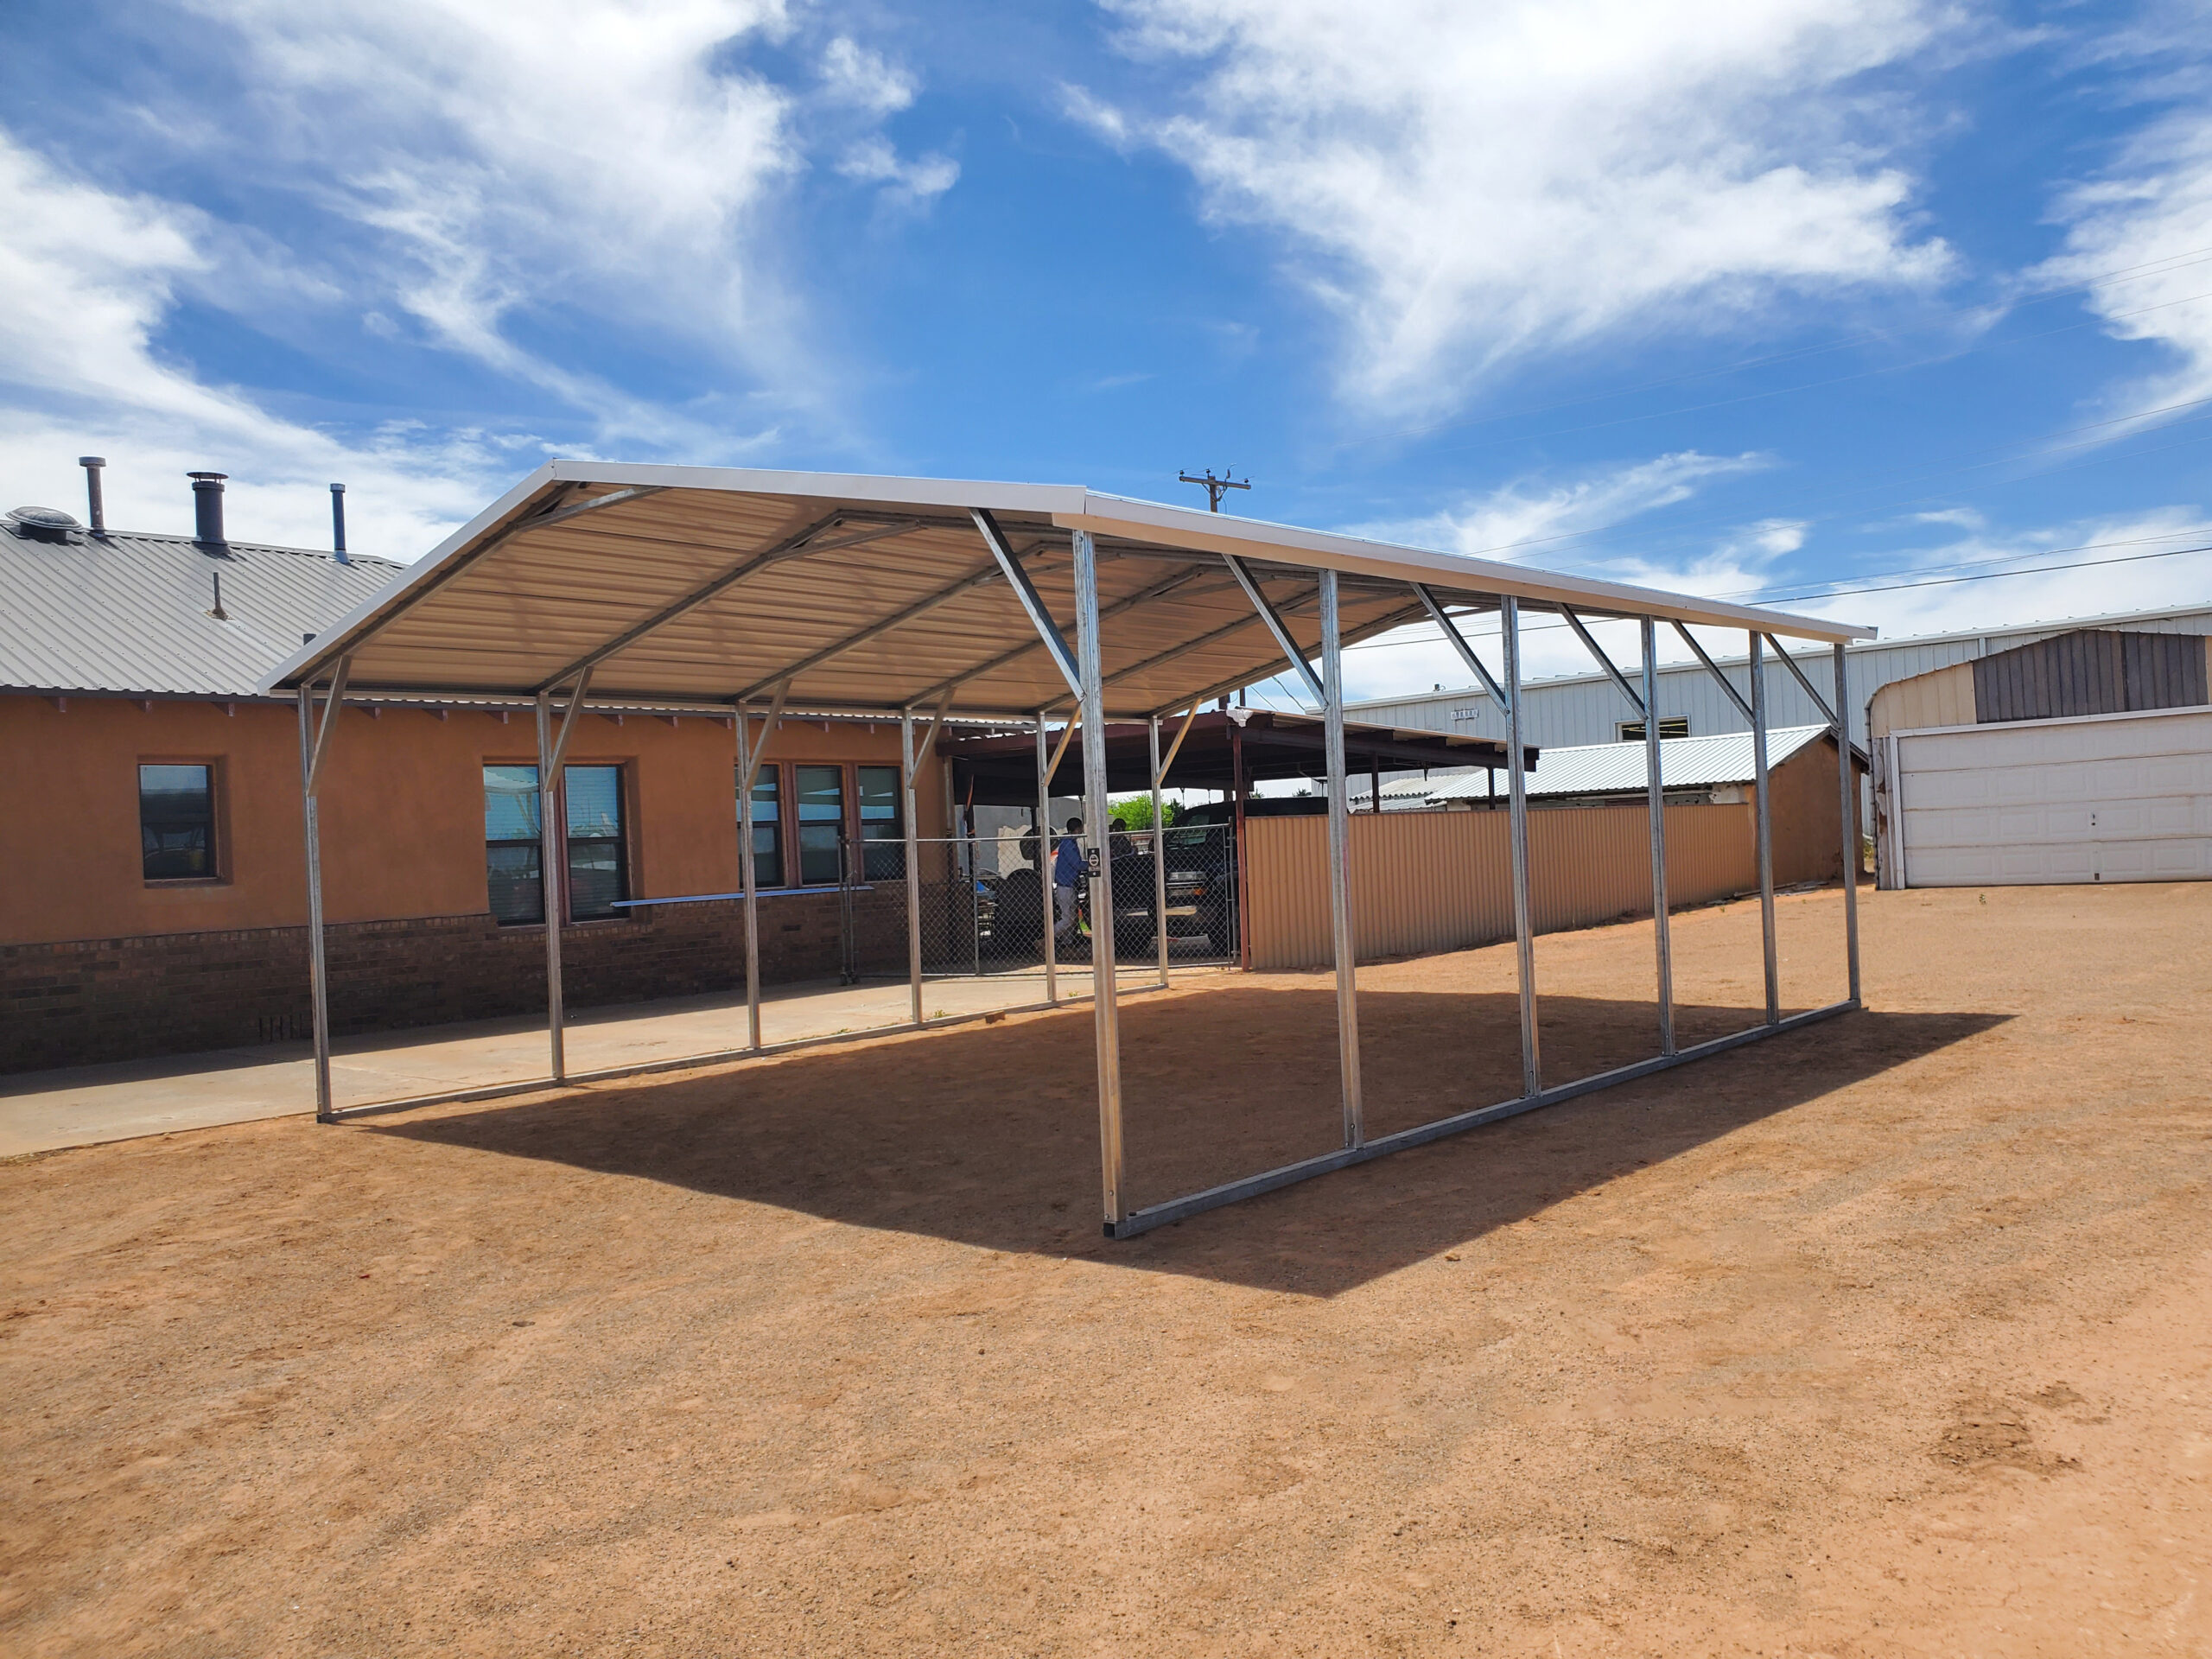
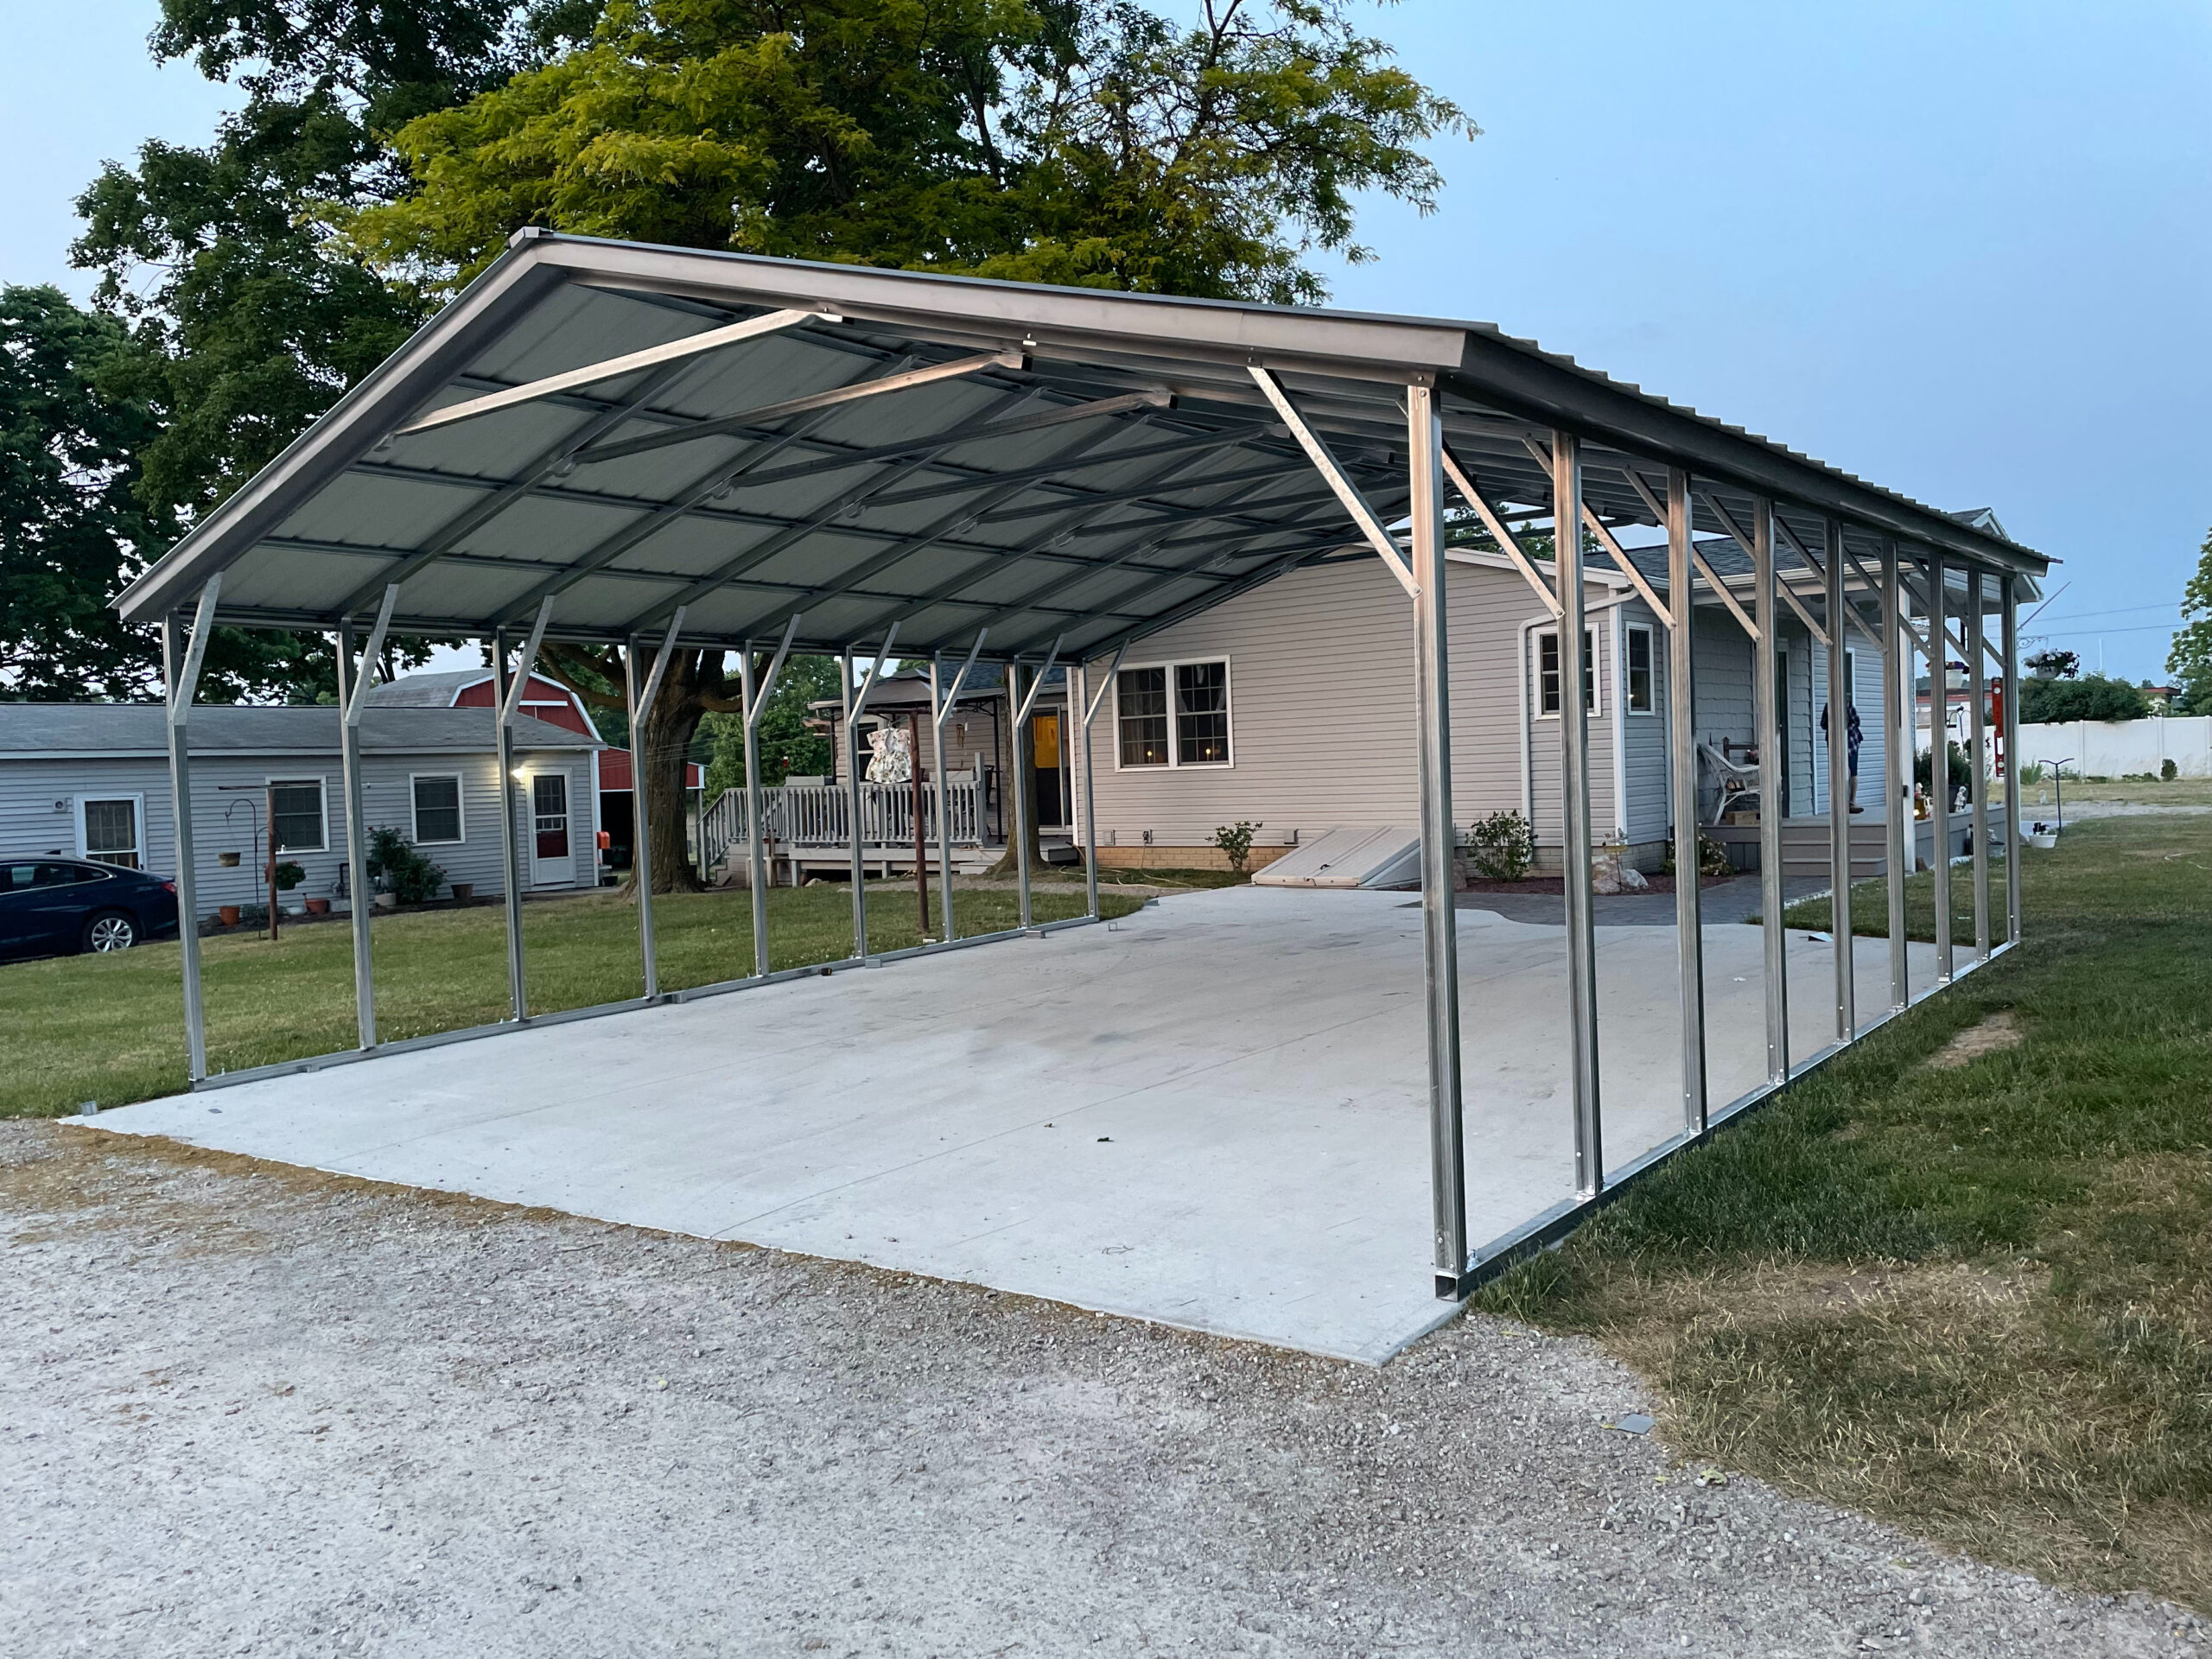
- Boxed eave roof (A-frame): Clean look, a bit more clearance, still has horizontal panels.
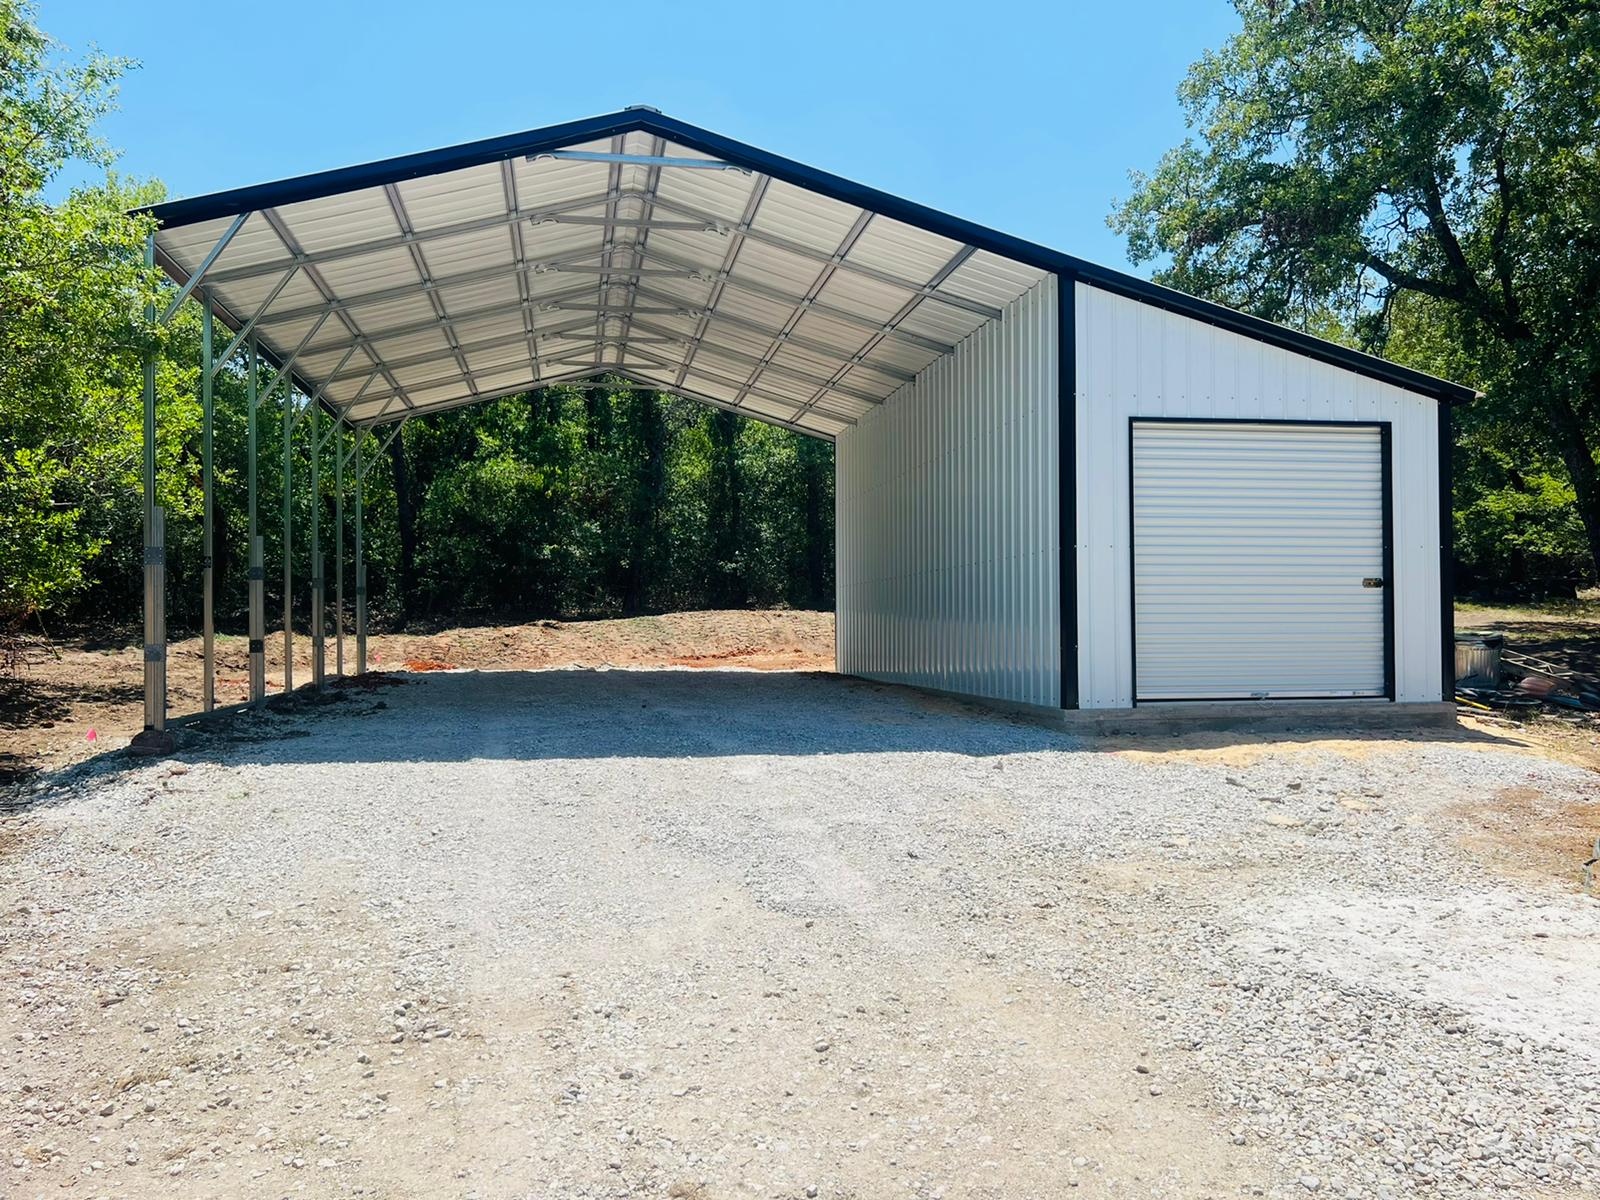
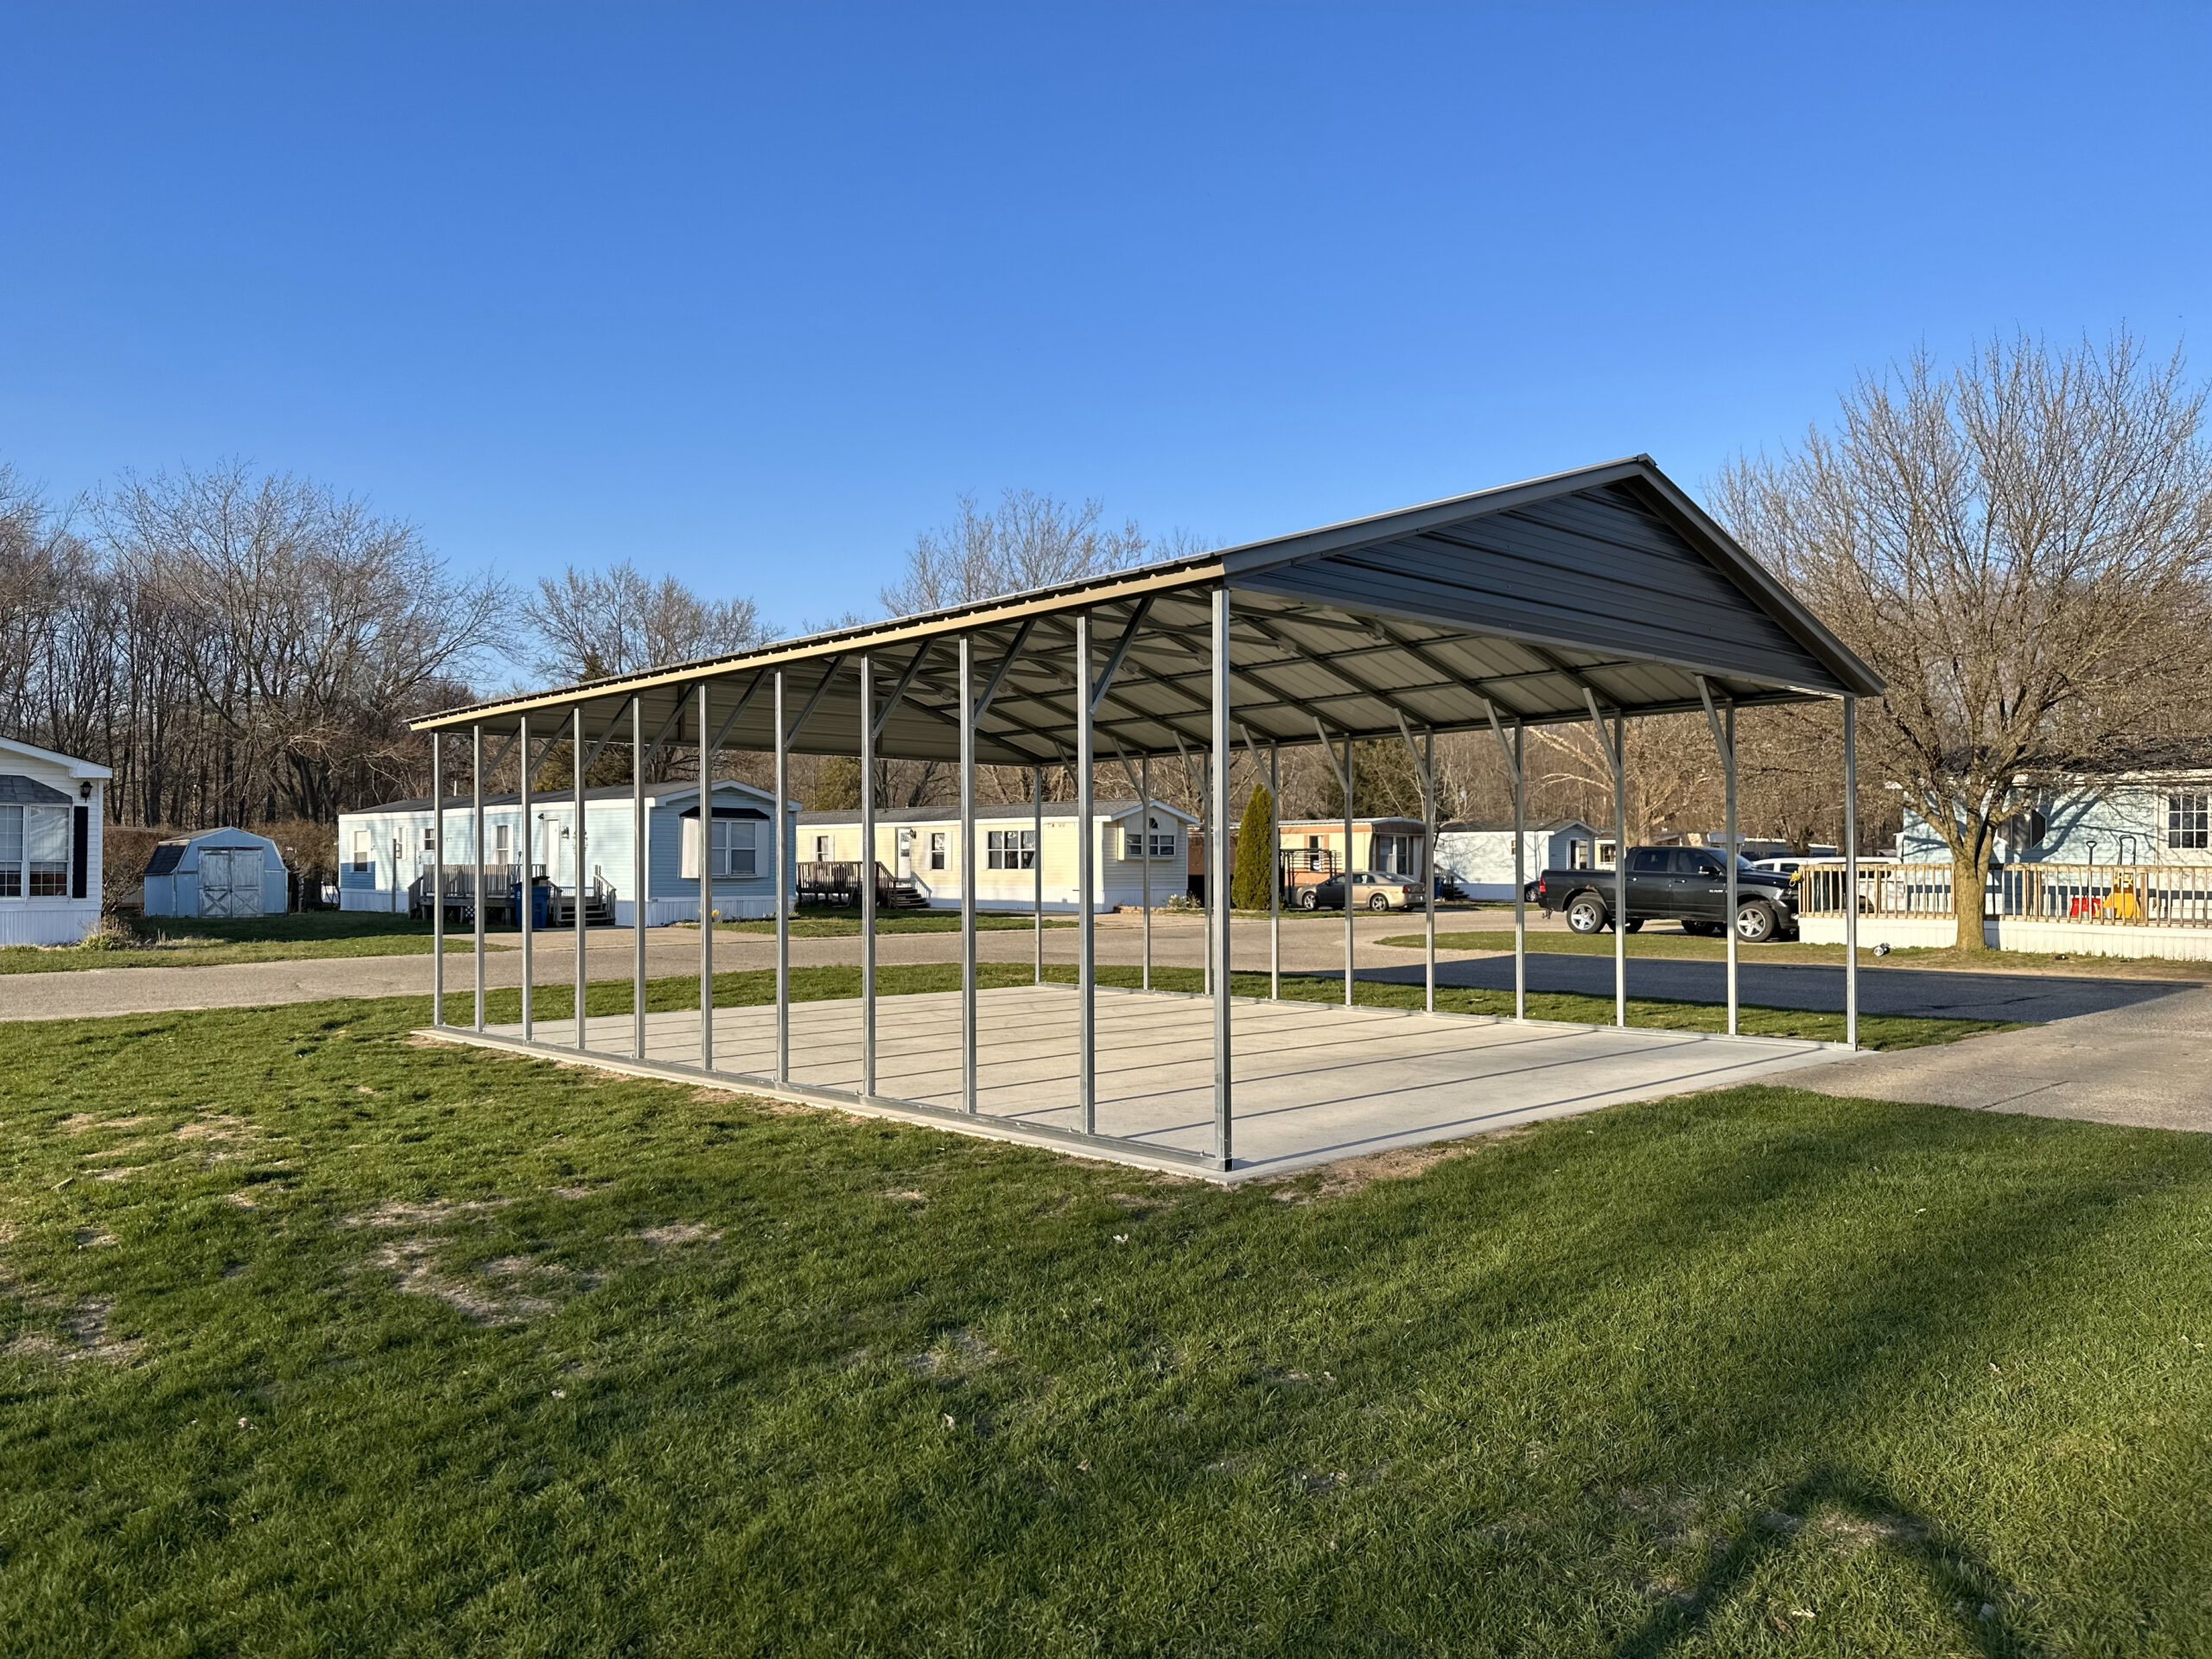
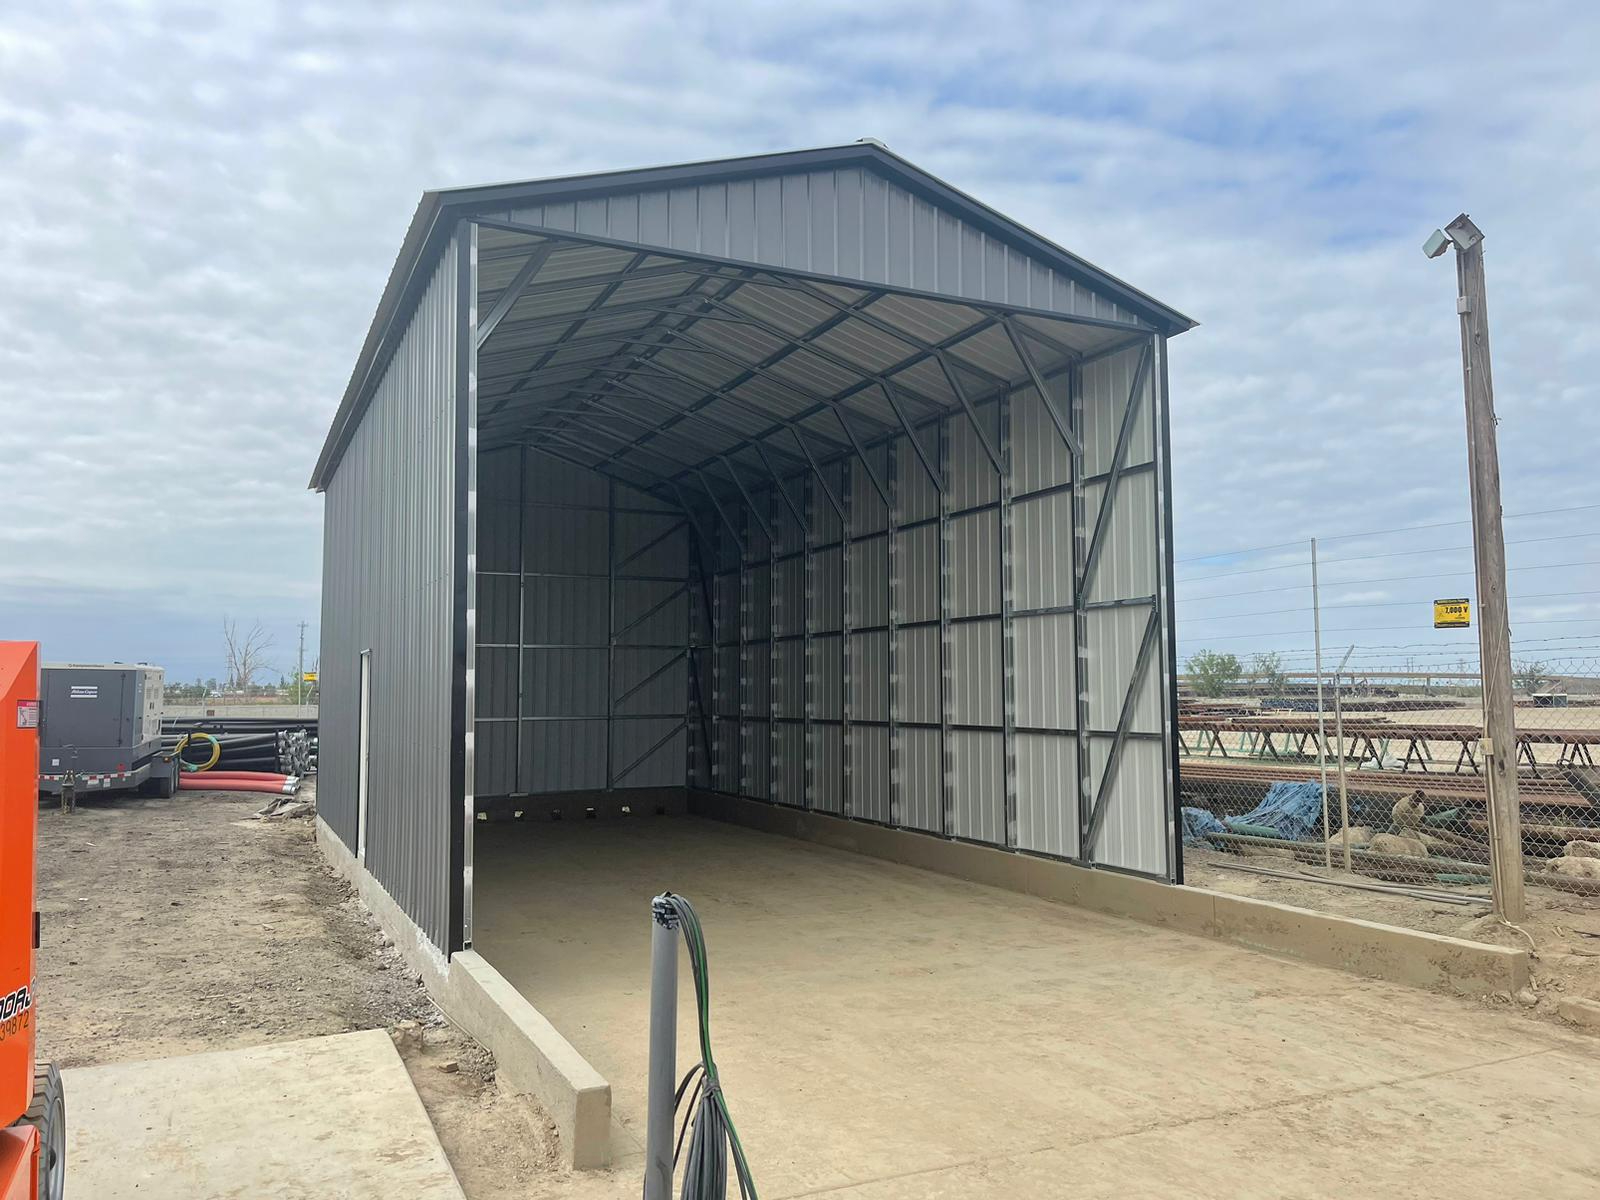
- Vertical roof: Best option. Tallest peak, great water/snow runoff, and most structurally sound. Ideal for long or tall RVs.
Also, if your carport is 9 feet tall or more, upgrade the bracing. Bigger structures need stronger support, especially if you live in a windy or snowy area.
Other Handy Add-Ons
- Side panels: Protect against wind, rain, and sun
- Gable ends: Hide unsightly framing and boost strength
- Extra trim: Looks nice, keeps edges sealed
- Trusses: For wider carports and extra stability
Bonus tip: A carport with a steep pitch roof (like 4/12 or 6/12) gives you better interior clearance and less debris buildup. But do consider how that impacts side height and local code restrictions.
Watch Out for Local Codes and HOA Rules
Before you build, do a little paperwork sleuthing. City and county rules may dictate:
- Maximum structure height
- Distance from property lines (aka “setbacks”)
- Permitting and inspections
Your HOA might also have opinions, often very specific ones, about how your carport looks, where it sits, and how tall it can be.
Common Mistakes to Avoid When Choosing Your RV Carport Height
Even the most seasoned RV owners can overlook a few key details when selecting a carport. Let’s save you the trouble (and expense) by calling out the most common mistakes people make, so you can steer clear of them from the start.
1. Measuring Without Rooftop Accessories Installed
Think your rig is 10 feet tall? Not so fast. Add in rooftop AC units, satellite dishes, solar panels, or vents, and you’re easily looking at another 8–12 inches (or more). Always measure your RV’s true height with all add-ons in place. Otherwise, your carport could come up short in the worst way.
2. Forgetting the Difference Between Side Leg and Peak Height
A carport’s side leg height is not the same as its center or peak height. If you need 12 feet of clearance at the center, you might only need 10-foot side legs. But don’t assume! Double-check how the roof pitch impacts your total clearance, especially if you’re choosing a flatter roof style.
3. Skipping the Buffer Space
Squeezing your RV into a perfectly matched carport may sound efficient. But in reality, it’s a recipe for stress (and dings). Always add 2–3 feet of vertical clearance and extra width/length for maneuverability, cleaning access, and future upgrades. Trust us: you’ll never regret having a bit more room.
4. Ignoring Local Building Codes
Not all carports are welcome without permission. Some cities, counties, and HOAs have strict height, size, and placement regulations. Install first, ask later? That’s a gamble you don’t want to take. Check permits, setbacks, and neighborhood rules before you order anything.
5. Choosing a Short-Term Solution for a Long-Term Rig
That 10-foot carport may work today. But what if you upgrade your RV next year? Or install solar panels? Go into this with a long-game mindset. It’s often only a small price difference to size up now and save yourself from tearing down and rebuilding later.
6. Assuming Standard Width Is “Good Enough”
Slide-outs, awnings, mirrors—they all need space. A 12-foot-wide carport may fit your RV, but it won’t protect it fully if components stick out. And you’ll definitely miss that buffer zone when you’re cleaning or doing maintenance. Don’t cut it too close.
7. Going Cheap on Roof Style or Bracing
It’s tempting to save a few bucks with the basic model, but if you live in an area with high winds, heavy rain, or snow? You’ll want to invest in a vertical roof, stronger braces, and reinforced panels. Think of it as insurance for your second home.
8. Underestimating How Often You’ll Use It
Planning to store your RV year-round? Park it every weekend between trips? Then your carport is a high-traffic zone. Avoid designs that are tight, hard to clean under, or lack side protection. Build for real life, not just the brochure version.
Measure Twice, Park Once
Here’s the takeaway: don’t guess, don’t eyeball, and don’t assume.
Get precise with your measurements, add a comfortable buffer, and think a few years ahead. Your future self (and future RV) will thank you. A carport that’s just right protects more than just your RV—it protects your time, your money, and your summer travel plans.
Get The Best RV Carport From Us!
Don’t let a too-short carport cramp your summer adventures or your rooftop accessories. At American Steel Carports Inc., we’ve helped thousands of RV owners across the country build custom carports that fit just right. Whether you need 12-foot clearance or room for your next upgrade, we’ll walk you through every step—from expert measurement tips to durable, made-to-last construction. Contact us today to learn more.

